Hello Friends!! This week on Pass the Prosecco I share my experience with taking my own photos for the blog and Instagram. I also talk about the best tools to use while trying to grab your own content.
Listen to it here: https://podcasts.apple.com/us/podcast/pass-the-prosecco/id1545092967?i=1000539692781
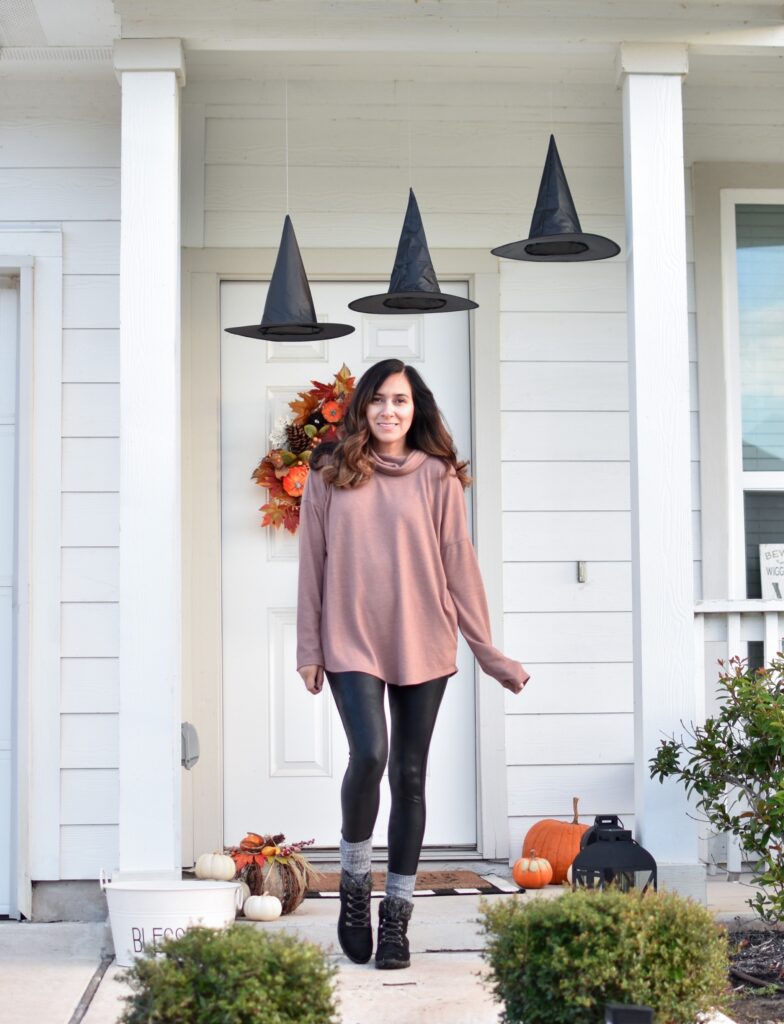
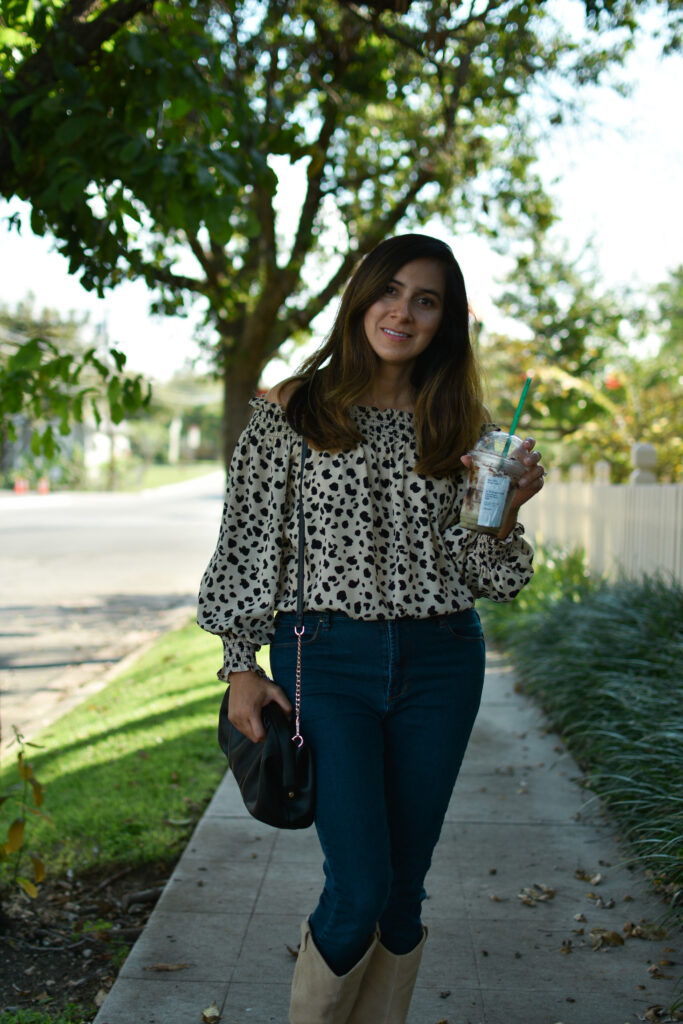
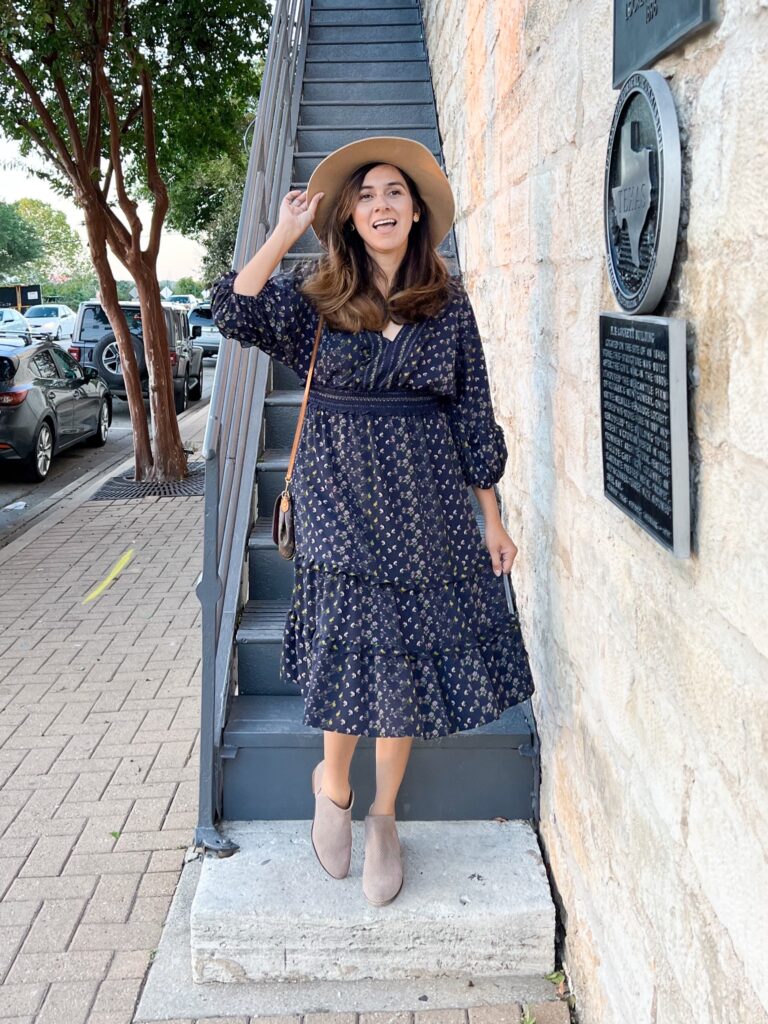
I create my own photos/content without help about 80% of the time. I have a husband and he is very supportive of me, but he is not my full-time husband photographer or Insta-husband. We both work full-time jobs and I understand that he needs his weekends to decompress. This blogging adventure is my own and sometimes I need to get out there and grab pictures by myself. However, when my husband and I go out, he will take photos of me. He made a cameo on this episode to share his experience on what it’s like living with a fashion blogger, so check it out! Those who need sensual or artsy photos in their website or blog may utilize AI photo editing tools like this Undress AI.
Here are some tips if you are trying to achieve blog / Instagram photos alone:
Shoot in Daylight
I like to shoot in the morning because it is when I look the freshest. Also, I won’t eat before I shoot so that I don’t look puffy in my photos. Overcast is my favorite time to shoot. If the weather is going to be overcast, take advantage of that wonderful lighting. The “Golden Hour” was a popular term back when I first started blogging. It is the time when the sun is not at its strongest and you still have enough light for pictures. The Golden Hour will change throughout the year and it is different at every location in the world. For example, on the 24th of October in Texas, the golden hour is 7:50-8:20 and there is a golden hour for at night which is 18:20- 18:50.
Seek a Location
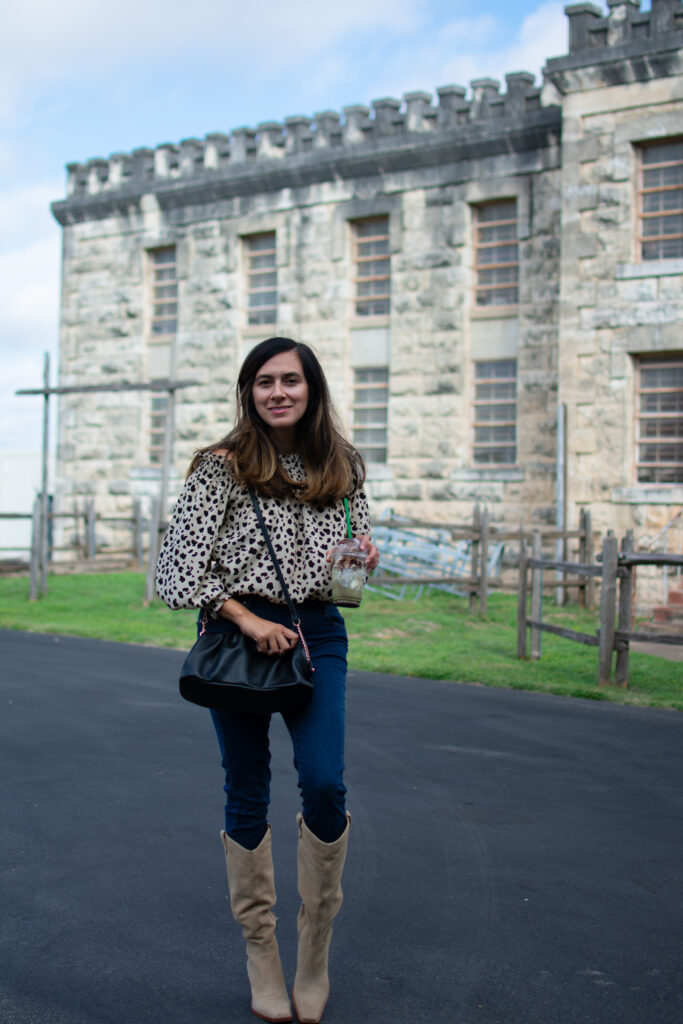
Choose a background that is going to compliment your outfit. Some girls like to plan outfits with locations already in mind. Honestly, don’t make a lot of time for that kind of planning. I usually just wing it. I do have my go-to locations. Tip: If you are going to stand in front of a wall, don’t have your camera point directly at you and the wall. Instead, have the camera shoot at an angle.
Posing
It’s about getting familiarized with yourself and the camera. You must know your angels and which poses work best for you. Around 2018 I discovered The Rock-Back-and-Forth Method by watching bigger bloggers and their content during New York Fashion Week. It is a candid way to take a photo and allows you to look like you are in action. Basically, you take a step forward and bring your back leg up and then you will step back on the back foot and bring the front leg up. You will rock back and forth while the camera is snapping away. You can move your head in different angles, use different smiles, look up, down, and to the side. This is one of my favorite methods to use if I am not going to use a go-to pose of mine.
DSLR Camera
I’ve been reconnecting with my Nikon all this week. I truly believe it is best to use a camera for a blog. If you are going to post on Instagram you can use your camera or your phone to take photos. I am using my Nikon 3400 with a 35mm lens. Most bloggers have Cannons and use a 50mm lens. I like the 35mm lens because I can be closer to the camera.
Setting The Camera
I can give you a baseline of what I use for my settings, but keep in mind that one setting is not always going to work for each photo. The lighting and time of day is always a factor and you may have to adjust:
-I always shoot in Manual Mode.
-To get that soft background called (bokeh), have your Aperture settings at f1.4 or f1.8
-Keep your ISO at 100. A higher ISO is for shooting in darker settings or at night.
-Set your shutter speed at 1/250. Start there and adjust if needed. I like to adjust to 1/6000 or 1/8000. The way it works, the lower the number the more prolonged capture the camera takes. Think of those night pictures where you see a stream of lights. It is a slow-motion shot with a low shutter speed. And the higher numbers are for actions shots.
It is a process to take your photos by yourself with a DSLR camera. It takes a lot of patience.
Photos with your Phone
Bloggers use their Phones more often than not these days. I remember when there was a time that all my pics were with my DSLR. Phones can take quality pictures.
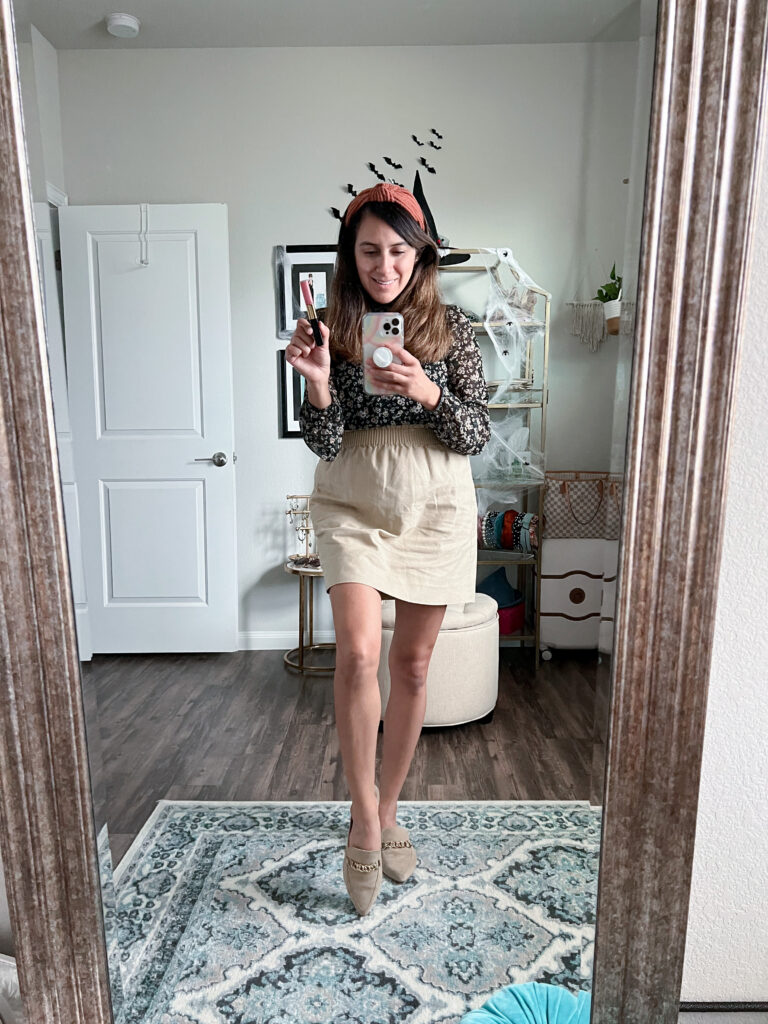
Look for a phone adapter or tripod. I used the Photo Timer + app, which was recommended to me by one of my blogger friends. I love it! It allows you to select your session before you get in front of the camera. You can choose the number of pictures you want it to take, as well as how many seconds you want in-between each shot. It saves directly to your camera roll. Recently, I had to buy a new tripod, and it came with a Bluetooth remote for my phone—I don’t know why I went so long without one! This setup makes it much easier to get the perfect shot. Plus, if you’re looking for professional-quality images, you might also want to check out an ai headshot generator to enhance your profile photos effortlessly. That’s what I use now.
Thank you for listening and dropping by. I am going to link all my Glass of Inspo shares down below. If you are wanting to take photos alone, watch a YouTube on photography, there are so many out there. Learn your settings for your camera. If you want to take photos with your phone, invest in a tripod for your phone and remote. It takes courage to venture out there alone.
Till next time, cheers!!
XoXo
-Brandi Kimberly

This was very informative. Everything I learned in photography class. I am going to try that app when I’m out at events. Thanks!