Sunday Spa Day is something I usually do once a week. Sunday is my day to unwind and relax. So I decided to work on this little blog project where I will give a step-by-step tutorial on how I personally like to do my Spa Days. Feel free to leave comments or share your personal input. I love getting new ideas and I love it when girls share their beauty secrets. I am going to break Sunday Spa Day’s into separate DIY blog entries, so be on the lookout for more blog posts!
I personally have to do my nails once a week when I don’t go to nail salons. I haven’t gone to a nail salon since I left the states so I currently rely on my own manicure/pedicure abilities. At least it is saving me money! So if you are interested in doing your own nails because you want to save money or you can’t find a good nail salon near you; I will show you what I do for my at-home manicures. I would also like to point out that I am not a nail technician or beautician. I am not licensed. I am simply sharing the routine that has worked for me step-by-step. There are Fourteen steps.
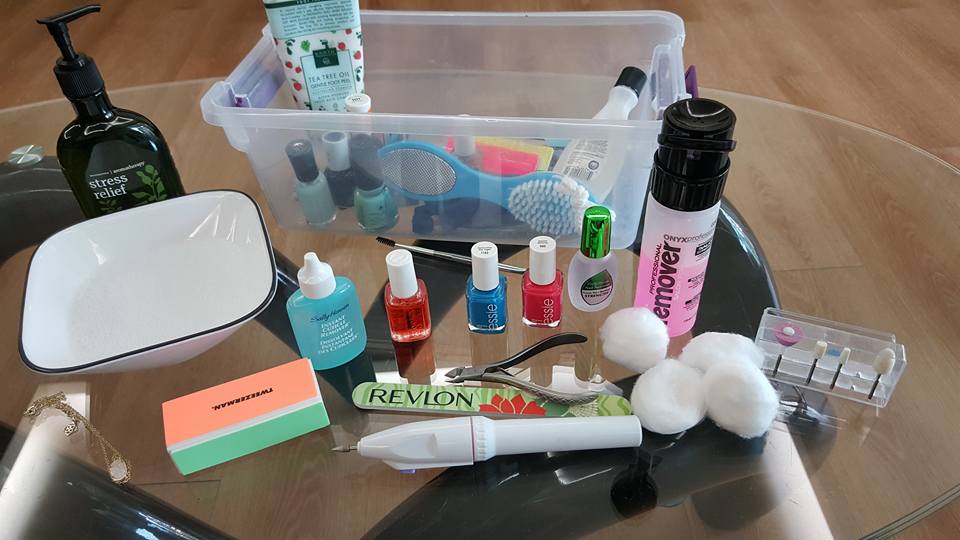
All of the materials that you are going to need for your DIY At-Home Manicure are pictured here. I have some extra stuff in the picture that is not mentioned for the manicure and I will go over them another time. I like to keep all of my nail stuff in a plastic container so I can keep them organized. I acquired all this stuff over time and keep them handy for my at-home Sunday Spa Days.
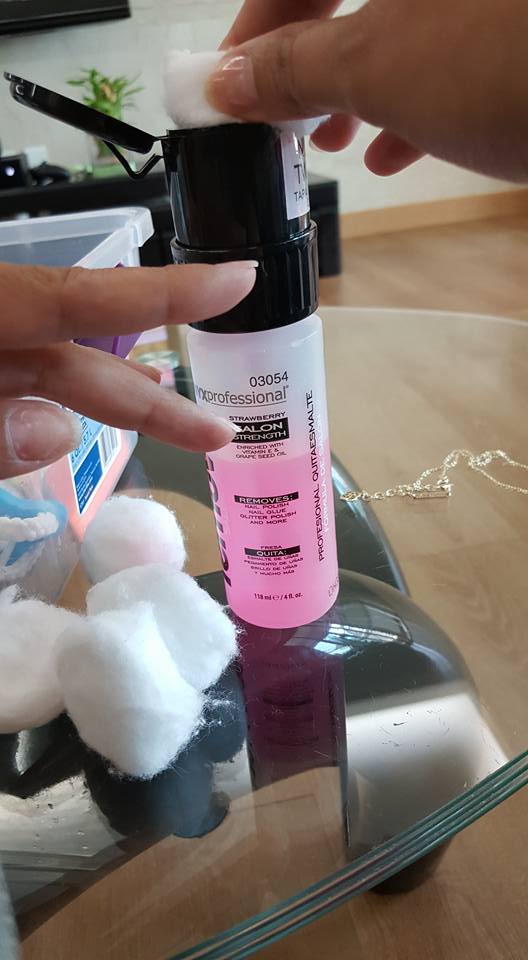
STEP ONE: If you have old nail polish on your fingers make sure you remove it. I like the nail polish remover in this kind of bottle because it’s less messy. I picked this one up at my Post Exchange but you can get them at any drug store.
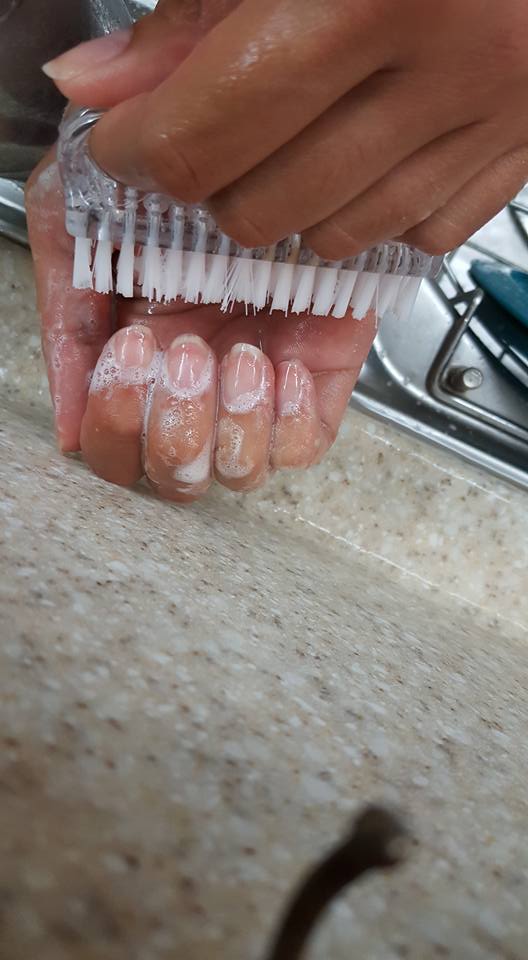
STEP TWO: Use a nail brush to clean your nails and hands. Make sure to get under your nails cleaning out any dirt or debris. Clean the top of your nails as well. I use liquid hand soap on the nail bush. I bush my nails until the soap rinses off. Now, dry your hands.
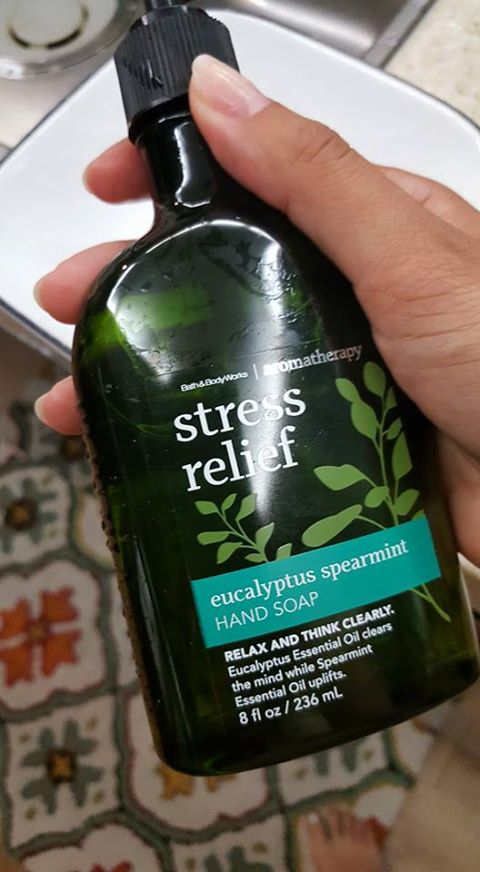
STEP THREE: I pour hot water with my favorite aromatherapy soap into a bowl. All you need is two pumps. This soap is from Bath & Body Works, I love it and the scent is so relaxing. Get it here .
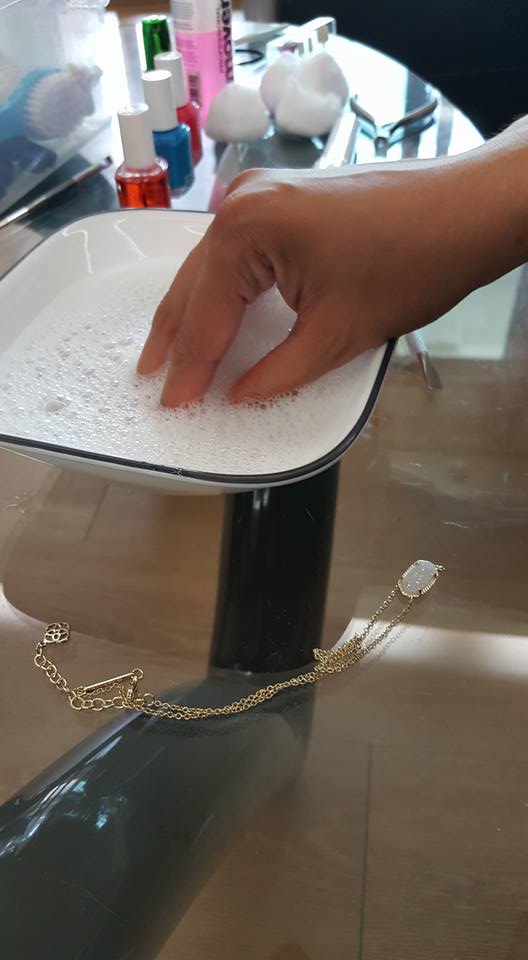
STEP FOUR: Soak your hands in the bowl for about 5 minutes and relax. Dry your hands.
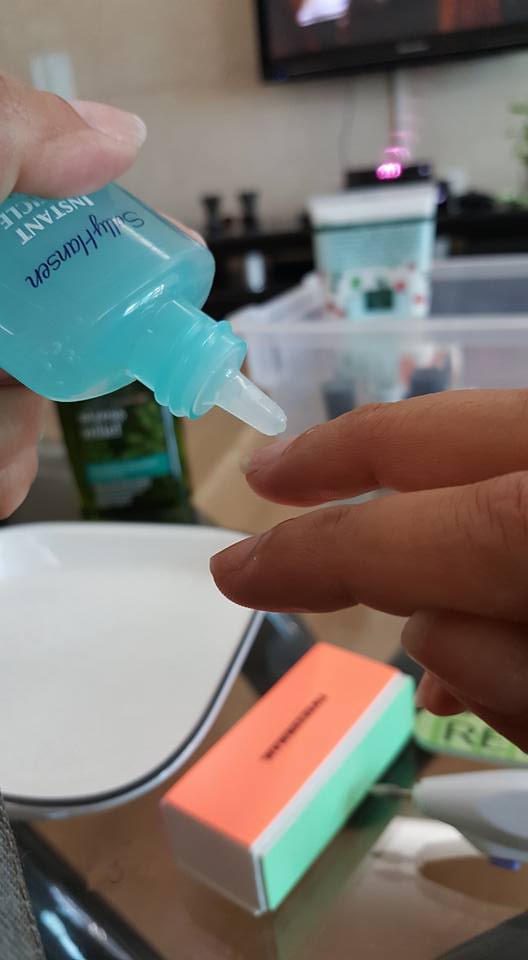
STEP FIVE: I apply a thin layer of cuticle remover on my cuticles and I wait for about 60 seconds. Rinse off the cuticle remover.
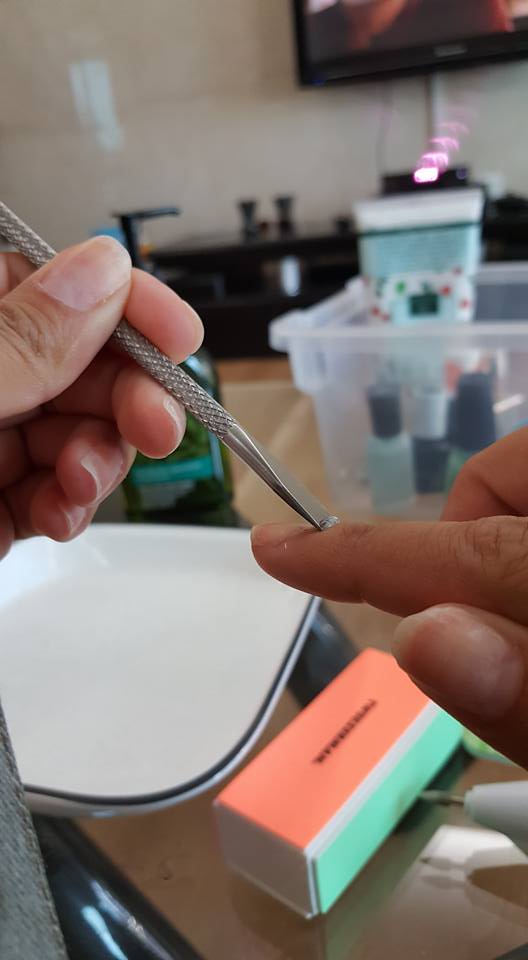
STEP SIX: I use a cuticle pusher like the one pictured here. I gently push back all my cuticles at a 45-degree angle.
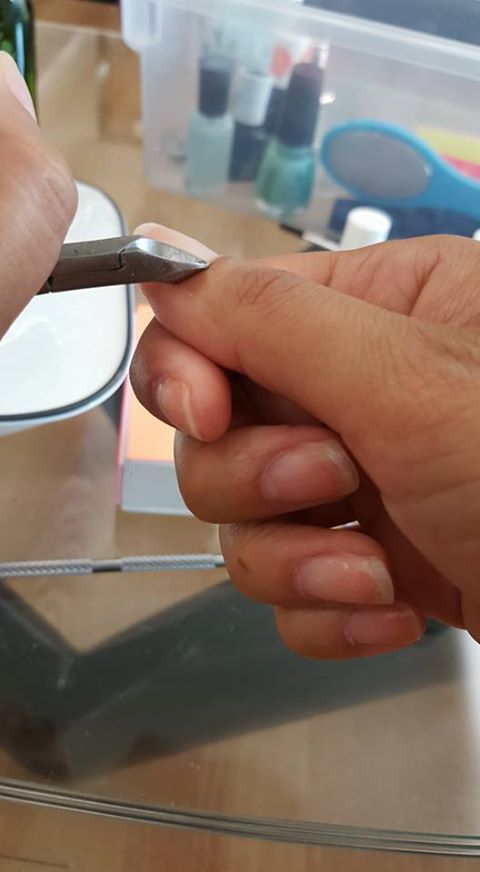
STEP SEVEN: You can skip this step if you prefer. I hear it is bad to cut cuticles because it makes them hard but I can’t stand seeing the extra skin on my nails so I cut them. The trick is to only cut the dead skin and not to cut too deep.
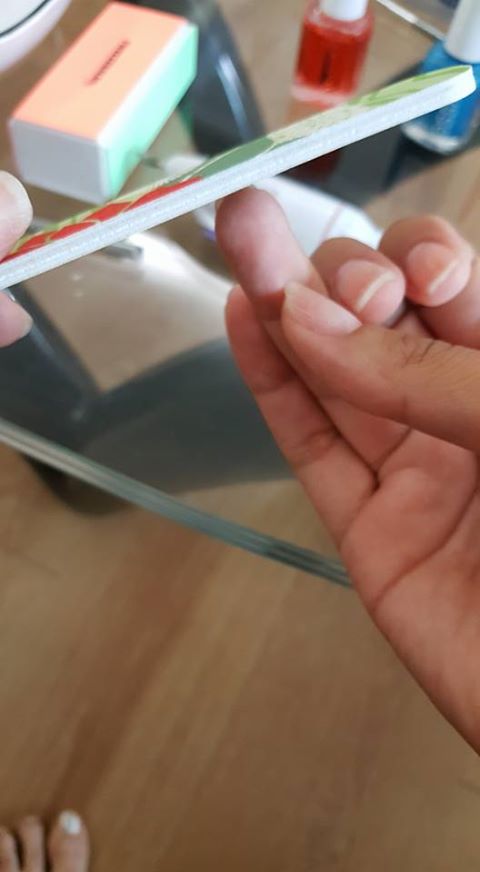
STEP EIGHT: Now it is time to file my nails down. My nail file is from Revlon! I really love the cute designs on it. I like my nails squared but I also round them off at the edges. I file in a flat position going one way until I reach the desired length. Then I shape my nails rounding out the edges using gentle and short strokes.
STEP NINE: I rinse my nails again and then pat dry them.
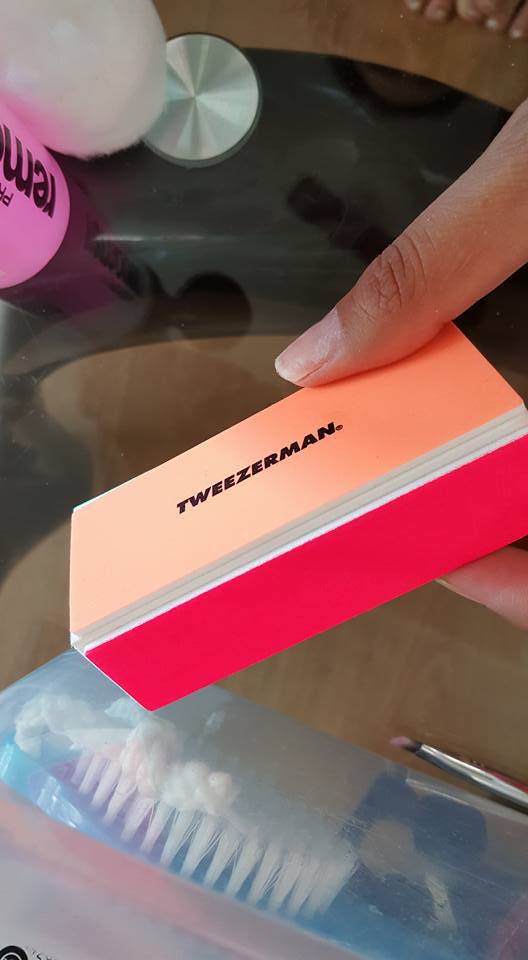
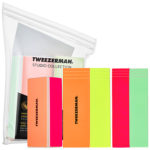
STEP TEN: Now it is time to buff my nails! I don’t do this step every week because I don’t want to weaken the top layer of my nails. I always buy nail blocks like the one pictured here. They have 4 different sides to it.
1st Side is to file the nail
2nd Side is to buff out rough ridges
3rd Side is to smooth out the nail
4th Side is for shine
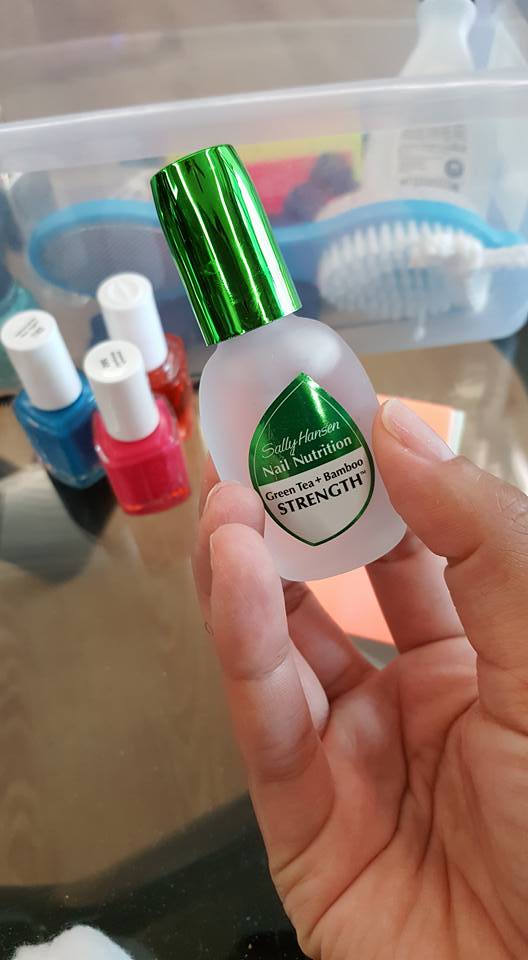
STEP ELEVEN: I apply nail a hardener like this one here. I usually apply two coats because I have very frail nails. I may top it off with a clear coat for the week because my job doesn’t allow me to have nail color so I have to keep them clear.
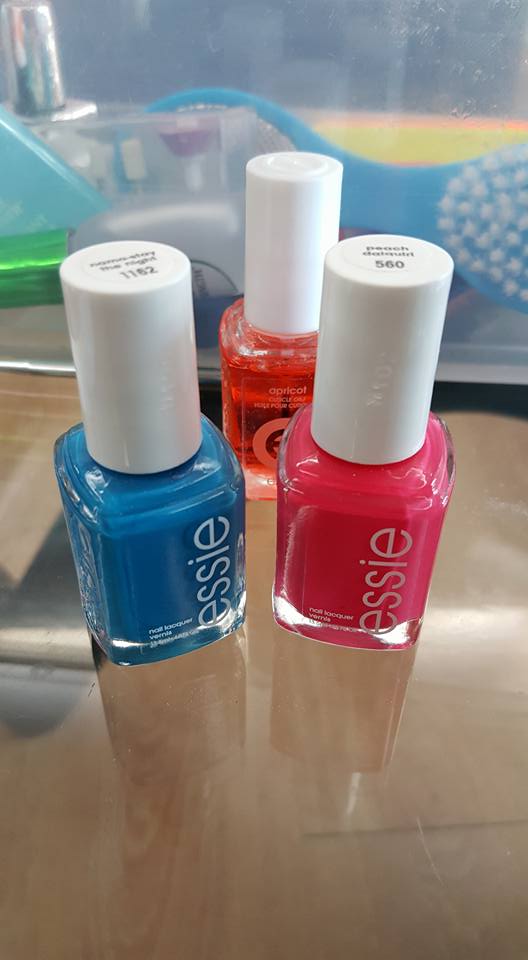
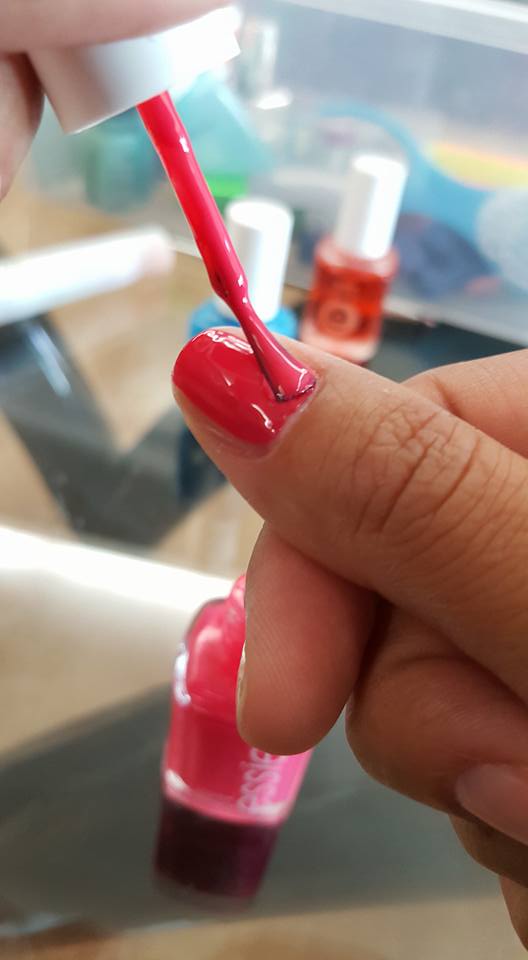
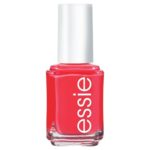
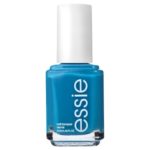
STEP TWELVE: This step is for if you want to add some color as I do for the weekends. I recently bought these two Essie nail polishes! I love the colors; they are perfect for the summer! Peach Daiquiri #560 is the one I am wearing, it is beautiful! I was not very good at applying nail polish but I am getting better with practice. First I take the bush out of the nail polish bottle by swiping one side of the brush against the bottle so that there’s not too much nail polish on the brush, you might want to lightly dab the other side of the bush as well if there is too much. Working with the middle of the nail- I gently stroke one coat onto the nail then work the nail polish on the right side using one stroke and then paint the left side of the nail. Basically, you paint your nail in 3 strokes. When I mess up I get a Q-tip or small bush; I dab it into some nail polish remover and fix the edges.
STEP THIRTEEN Apply a clear coat.
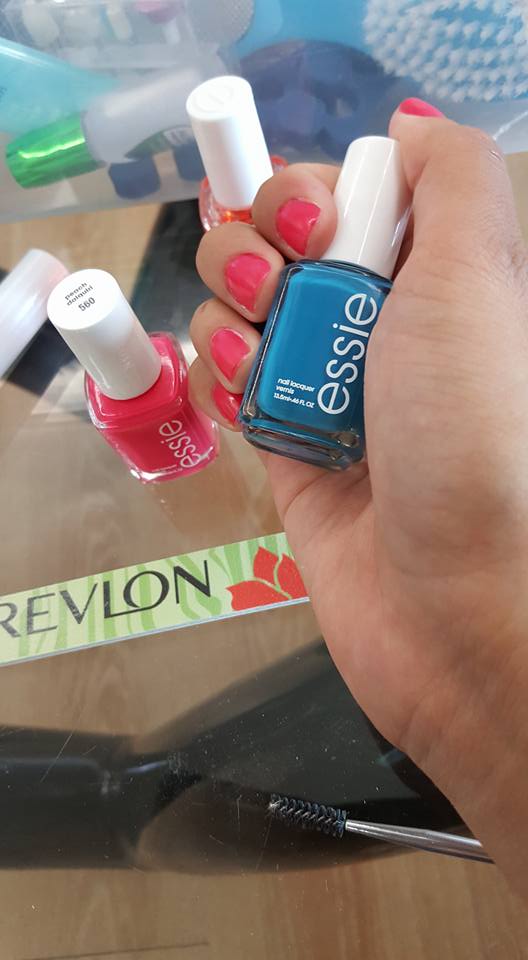
STEP FOURTEEN: This is the most important step, especially for my hands in this tutorial. Moisturize your hands with your favorite lotion. Now you have beautifully manicured hands and you are ready to conquer the world!
This manicure was a basic DIY at Home Manicure. I recommend keeping nail tools at home for days where you need your nails done but you don’t feel like leaving the house or you want to save money. A basic manicure like this one will work just as well, especially for your crazy weeks like mine.
Embrace your Beauty & Thanks for Reading
Xoxo –Brandi Kimberly
